Home Assistant Environment Sensors
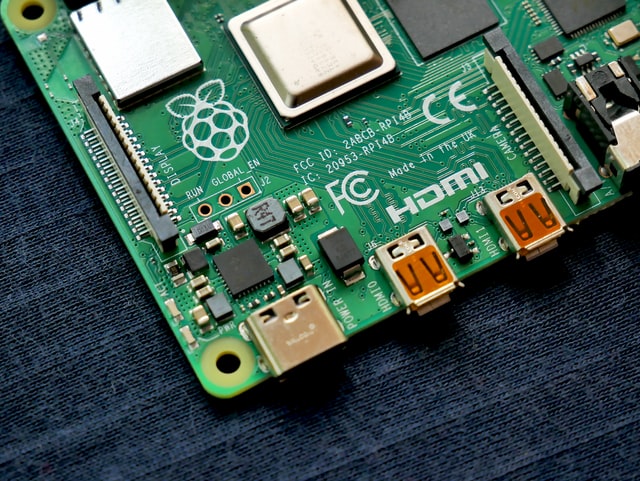
This week inspired by both the hours spent inside during the UK’s lockdown 2.0, and by my day-job working on the Raspberry Pi/Home Assistant based PowerShaper project, I recently decided to up my home monitoring game. This isn’t going to be a tutorial but just a brief overview of my process.
Home temperature and humidity is something which is often a major issue for UK homes which are famous for their damp problem and breezy draughts (things you would think would cancel each other out). Having spent this winter trying to improve my home’s ‘livability’ I have plugged some pretty major holes, but what impact has this had on the internal temperature and humidity?
Since I already owned a Raspberry Pi 4 which wasn’t really being used for anything the obvious choice was to set it up with Home Assistant which offers a wide range of integrations and ways to connect different sensors. One of the advantages of this open source project is that if I want to add any more smart home devices to my network there is a good chance that something will work with this system.
When it comes to the sensors, I was looking for something small and unobtrusive which could connect wirelessly. Based on several recommendations I decided to go with the Aqara Zigbee temperature and humidity sensors. This meant I would need to also purchase an additional Zigbee sniffer to integrate into Home Assistant. There are quite a few different sniffers available and I would expect in my relatively small house even the most basic would have done, however one that caught my eye was the zig-a-zig-ah! CC2652R Multiprotocol RF Stick from Electrolama - zzh! for short, which uses Texas Instrument’s new generation CC2652R chip which is multiprotocol and would hopefully help to futureproof my system.
So after a few weeks waiting on the Aqara sensors to arrive from Aliexpress it was time to get started. The project breaks down into a few easy steps.
Flashing the zzh! CC2652R multiprotocol RF stick
The first step is to identify the location of the stick using dmesg.
$ dmesg
[ 4378.067404] usb 1-2: new full-speed USB device number 7 using xhci_hcd
[ 4378.216373] usb 1-2: New USB device found, idVendor=1a86, idProduct=7523, bcdDevice= 2.64
[ 4378.216378] usb 1-2: New USB device strings: Mfr=0, Product=2, SerialNumber=0
[ 4378.216382] usb 1-2: Product: USB Serial
[ 4378.220870] ch341 1-2:1.0: ch341-uart converter detected
[ 4378.222241] usb 1-2: ch341-uart converter now attached to ttyUSB0
In my case at /dev/ttyUSB0, although this can vary, so checking this location is important before moving onto the next step.
The zzh! stick comes without preflashed firmware, so the first step in the process is to flash the firmware using BSL. This involves downloading appropriate firmware and BSL python script, putting it into bootloader mode and running a few simple commands in the terminal. I found this process to be really straightforward and well documented over at the Electrolama site.
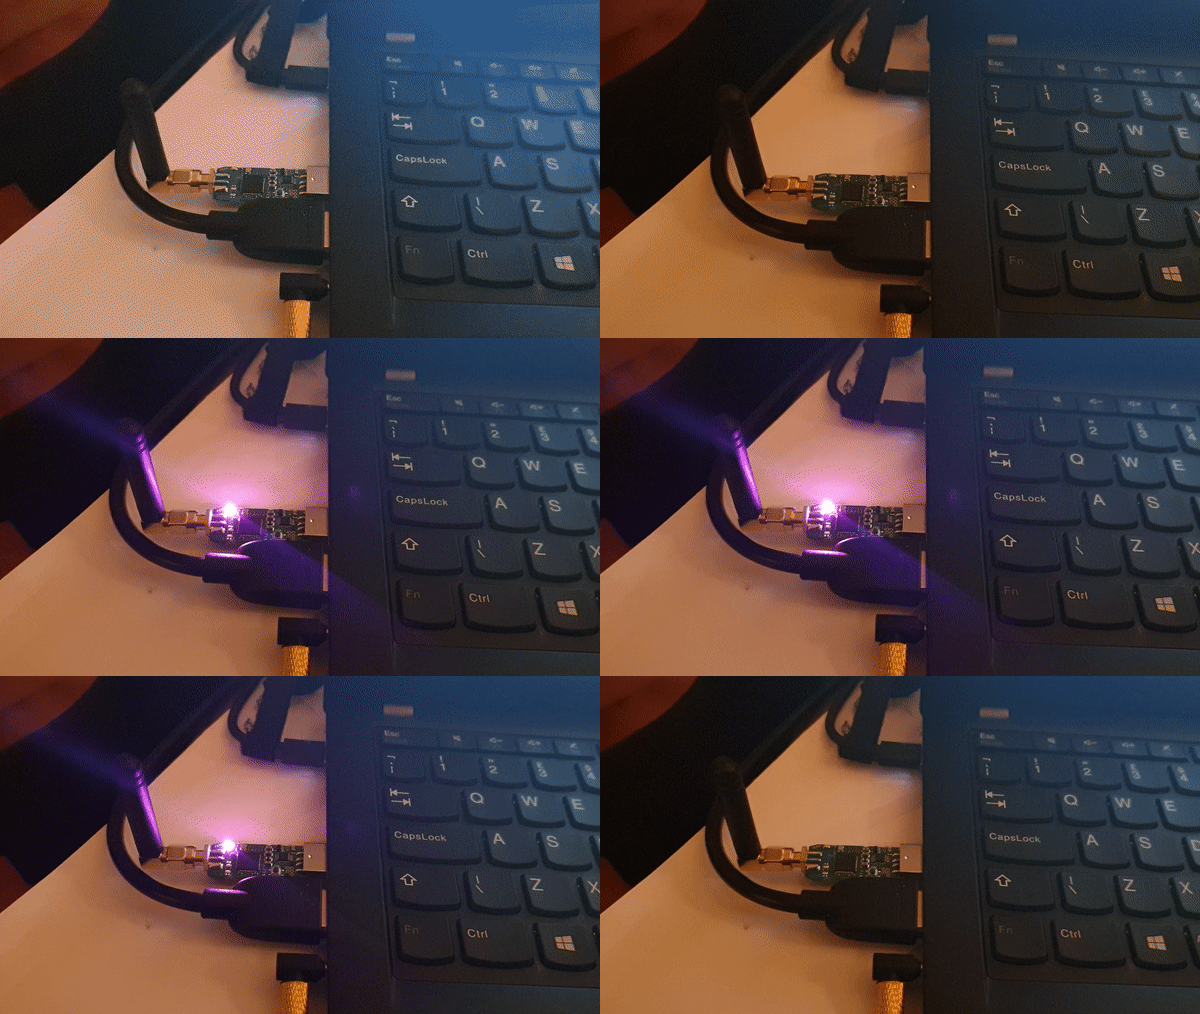
This is what happens when the zzh! is flashed with the small test program blink.bin.
Once that is done, it is time to put the stick into its case and plug it into the Raspberry Pi.
Flash home assistant and basic set up
For the easy process I decided to go with a HASSIO Home Assistant install. In this case it is as simple as downloading the image, flashing the SD (in my case using Balena Etcher) and booting up the Raspberry Pi, at this stage you need to go through a few basic setup steps for Home Assistant, including defining your location (mostly for the weather services).
Turn on advanced settings
To access all the settings we need it is important to turn on advanced settings in Home Assistant, this is straightforward and can be found under the configuration section.
Install Mosquitto MQTT broker addon and follow set-up instructions
Next it is time to install the MQTT broker, which is basically a server for the data which comes in from the sensors. MQTT is great for handling this kind of information and I already have a cursory understanding of how it all works from my work on PowerShaper. There are some great resources for getting to grips with MQTT and one I have found particularly useful is the collection of tutorials and the course put together on Steve’s Internet Guide. Mosquitto is a great open-source MQTT broker and something I have also used quite frequently to confirm that the devices we install in people’s homes are functioning correctly.
The documentation and instructions for how to set this up are nice and simple, with the main step probably being the creation of the MQTT user in Home Assistant.
Zigbee2mqtt setup
I decided to follow the Zigbee2MQTT documentation in this process including adding the repository manually, although I think it is possible to skip this step. To do this from go to Supervisor > Add-on Store and click the three dot menu in the top right selecting repositories to bring up the repository manager adding the following: https://github.com/danielwelch/hassio-zigbee2mqtt
The Zigbee2MQTT project does most of the heavy-lifting in this project and if you have any issues getting this all set up it will most likely be during this stage. Most issues can be resolved by referring back to the documentation.
One issue which I ran into a couple of times with this was an error starting the zigbee-shepherd. There are a couple of reasons this might happen, probably the with the simplest being that the serial port location of the USB sniffer has been incorrectly identified. The documentation reports that most of the time it is located at /dev/ttyACM0, however I have found that for me it tends to be /dev/ttyUSB0. To complicate things the sniffer can be a bit ‘sticky’ requiring it to be replugged a couple of times to function reliably. However, once it is set up correctly it tends to stay working, so hopefully this will only be an issue in the initialisation.
Once that is all configured start the add-on and toggle the ‘Show in sidebar’ option to view use the GUI to set up the sensors directly.
Give it a few minutes to boot up and click the Zigbee2MQTT button in the sidebar. If at this stage there are any problems make sure to check the logs for the add-on to identify the issue.
Pairing aqara sensors
From the Zigbee2MQTT GUI navigate to the ‘Touchlink’ at the top, and press ‘scan’. While that is in progress hold the little button on top of the Aqara sensor until the LED flashes blue. At this point the sensor should automatically be detected by the Zigbee2MQTT add-on. It will appear in the Devices list with a long and obscure name (I would assume this is the UUID). You can rename the device here to a more human readable name and make sure to toggle so that it updates the entity name across Home Assistant.
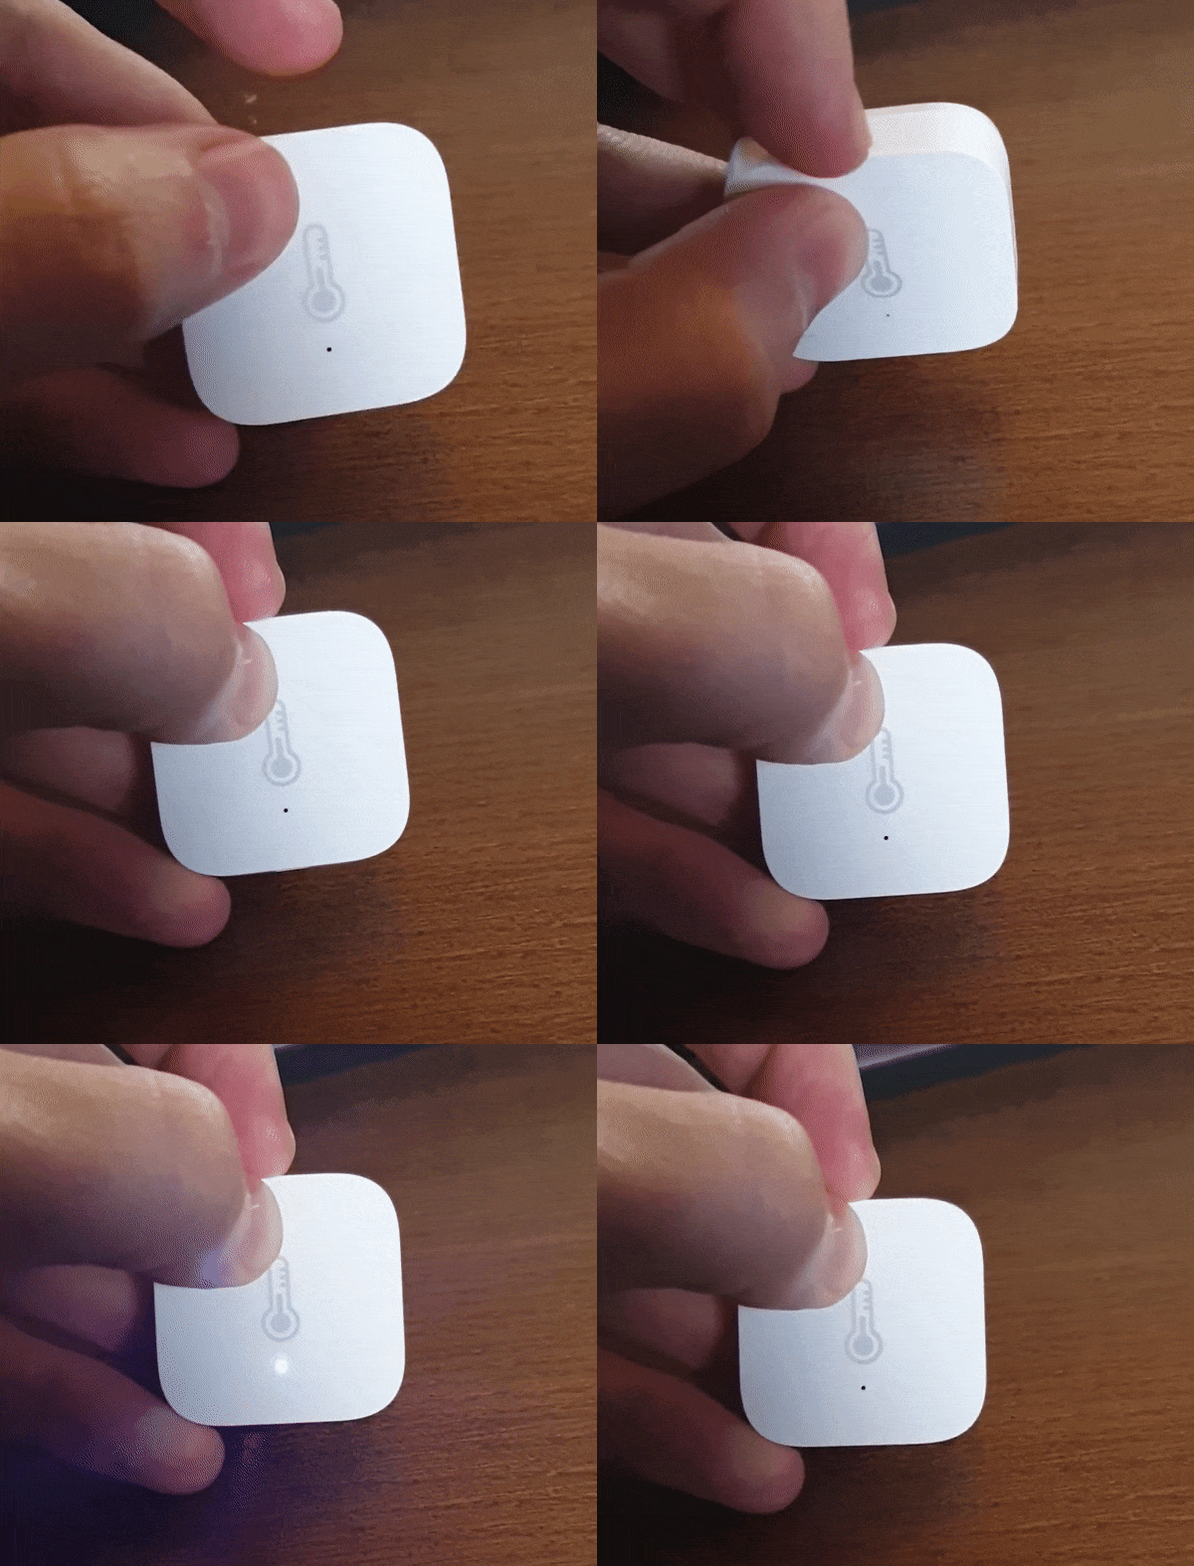
You can repeat this process for as many sensors as necessary. When doing this for the first time I have only configured two Aqara sensors and have a couple more that I will add in at a later date.
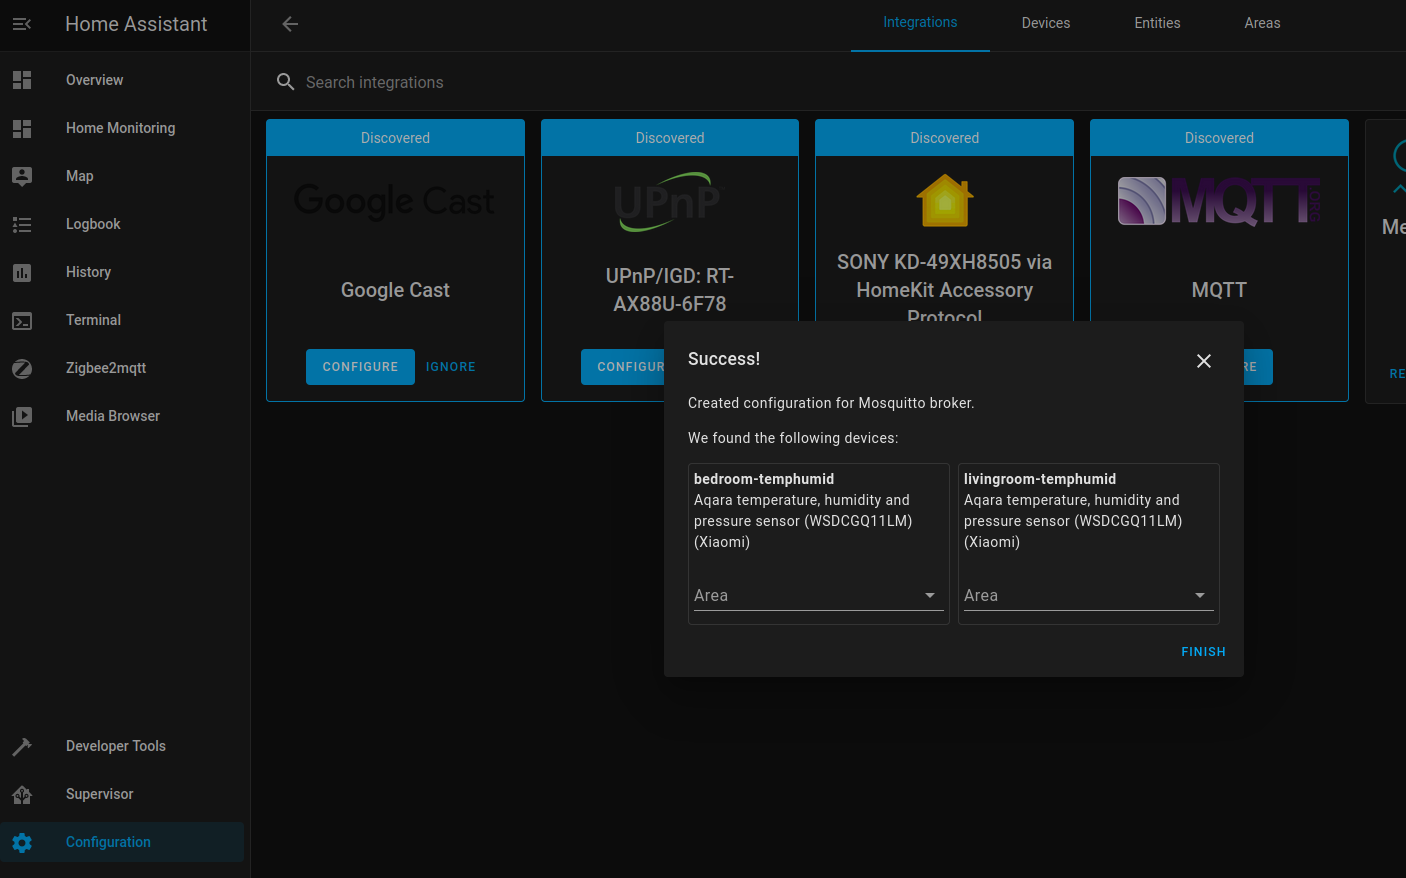
The final step in getting the sensors fully linked in Home Assistant is to go to Configuration > Integrations > MQTT Mosquitto Broker and finalise the set-up there. At this point the devices connected will be visible.
Home assistant dashboard config
The final thing to do is to display or use the data from the sensors. There are many different ways that this can be done. If there are other smart home devices connected to Home Assistant automating things might be useful, and this is something which I hope to explore further in the future. For now I just set up some simple graphs and displays on the dashboard showing the temperature and humidity in the rooms with the sensors.

This first one just shows the temperature and humidity of the sensors side by side.
type: glance
entities:
  - entity: sensor.livingroomaqara_temperature
    name: living room
  - entity: sensor.bedroomaqara_temperature
    name: bedroom
  - entity: sensor.livingroomaqara_humidity
    name: living room
  - entity: sensor.bedroomaqara_humidity
    name: bedroom
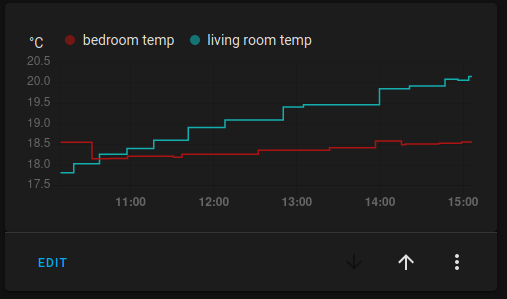
This second one graphs the temperature history over a 24 hour period.
type: history-graph
entities:
  - entity: sensor.bedroomaqara_temperature
    name: bedroom temp
  - entity: sensor.livingroomaqara_temperature
    name: living room temp
hours_to_show: 24
refresh_interval: 0
What next?
I don’t have any immediate plans for improving my home monitoring beyond adding a few more sensors, but I would be interested in collecting and analysing the data over a longer period. It might also be interesting to look at alongside the energy usage which I should soon be able to access when a Smart Meter is installed in my house.
Have something to add?
Comments will be manually added after review.